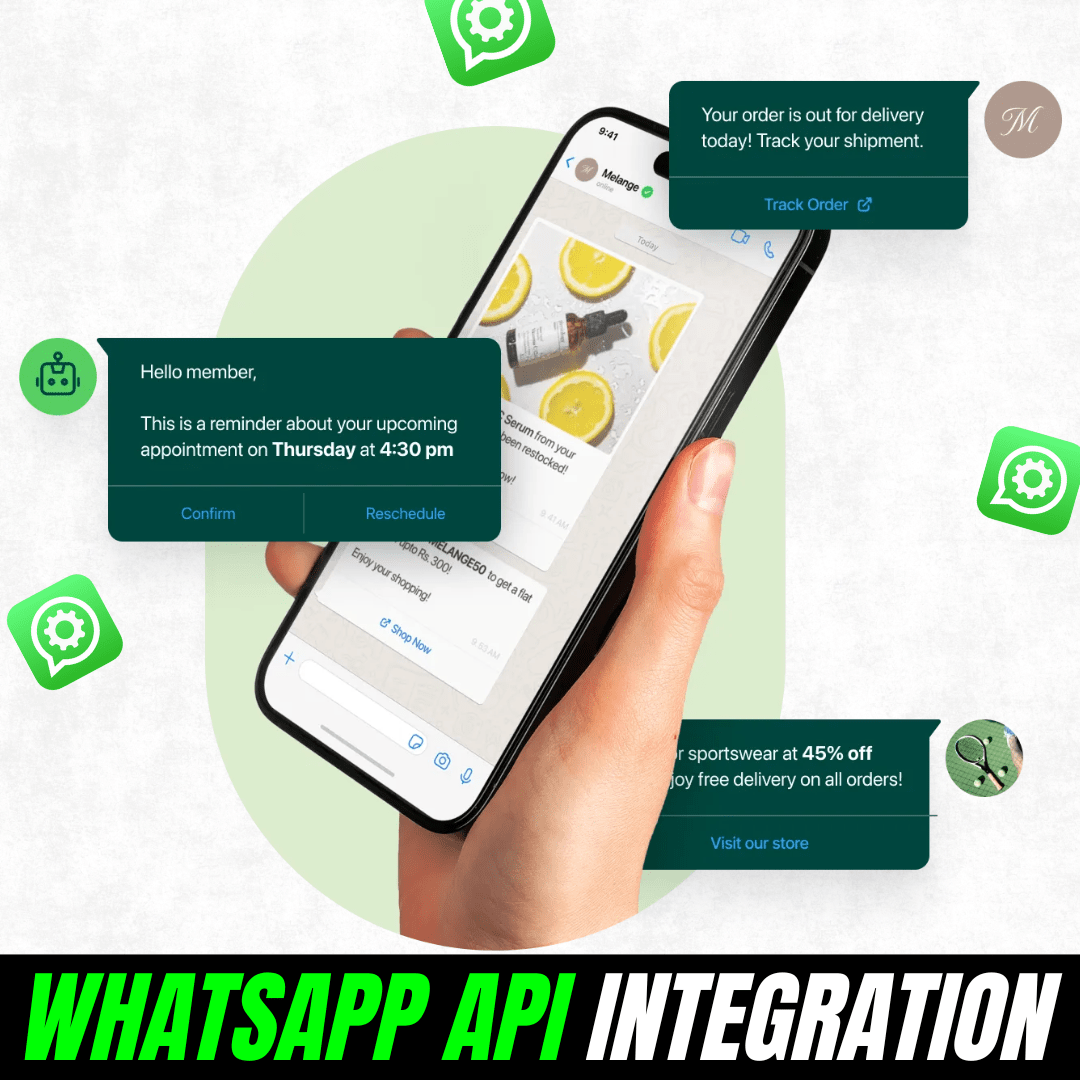
In today’s digital world, businesses need fast and reliable ways to communicate with their customers. Moreover, WhatsApp is one of the most popular messaging platforms globally, and the WhatsApp Business API setup allows your business to send automated messages, notifications, and support directly to your customers.
Setting up the WhatsApp Business API correctly is crucial. A proper setup ensures smooth messaging, faster responses, and a better customer experience. On the other hand, an incorrect setup can lead to verification delays, message delivery failures, or payment issues.
You have two options to complete your setup: you can either watch the video below for a step-by-step visual guide, or follow the instructions in this blog to set it up by reading.
This guide will walk you through the WhatsApp API integration process step by step. Moreover, you will learn how to:
- Verify your business with Meta efficiently
- Connect your WhatsApp number using the API
- Manage messaging through a professional dashboard like LeminAi
- Avoid common mistakes that slow down setup
By the end of this guide, your business will be ready to communicate with customers just like top brands.
Pre-requisites for WhatsApp Business API Setup
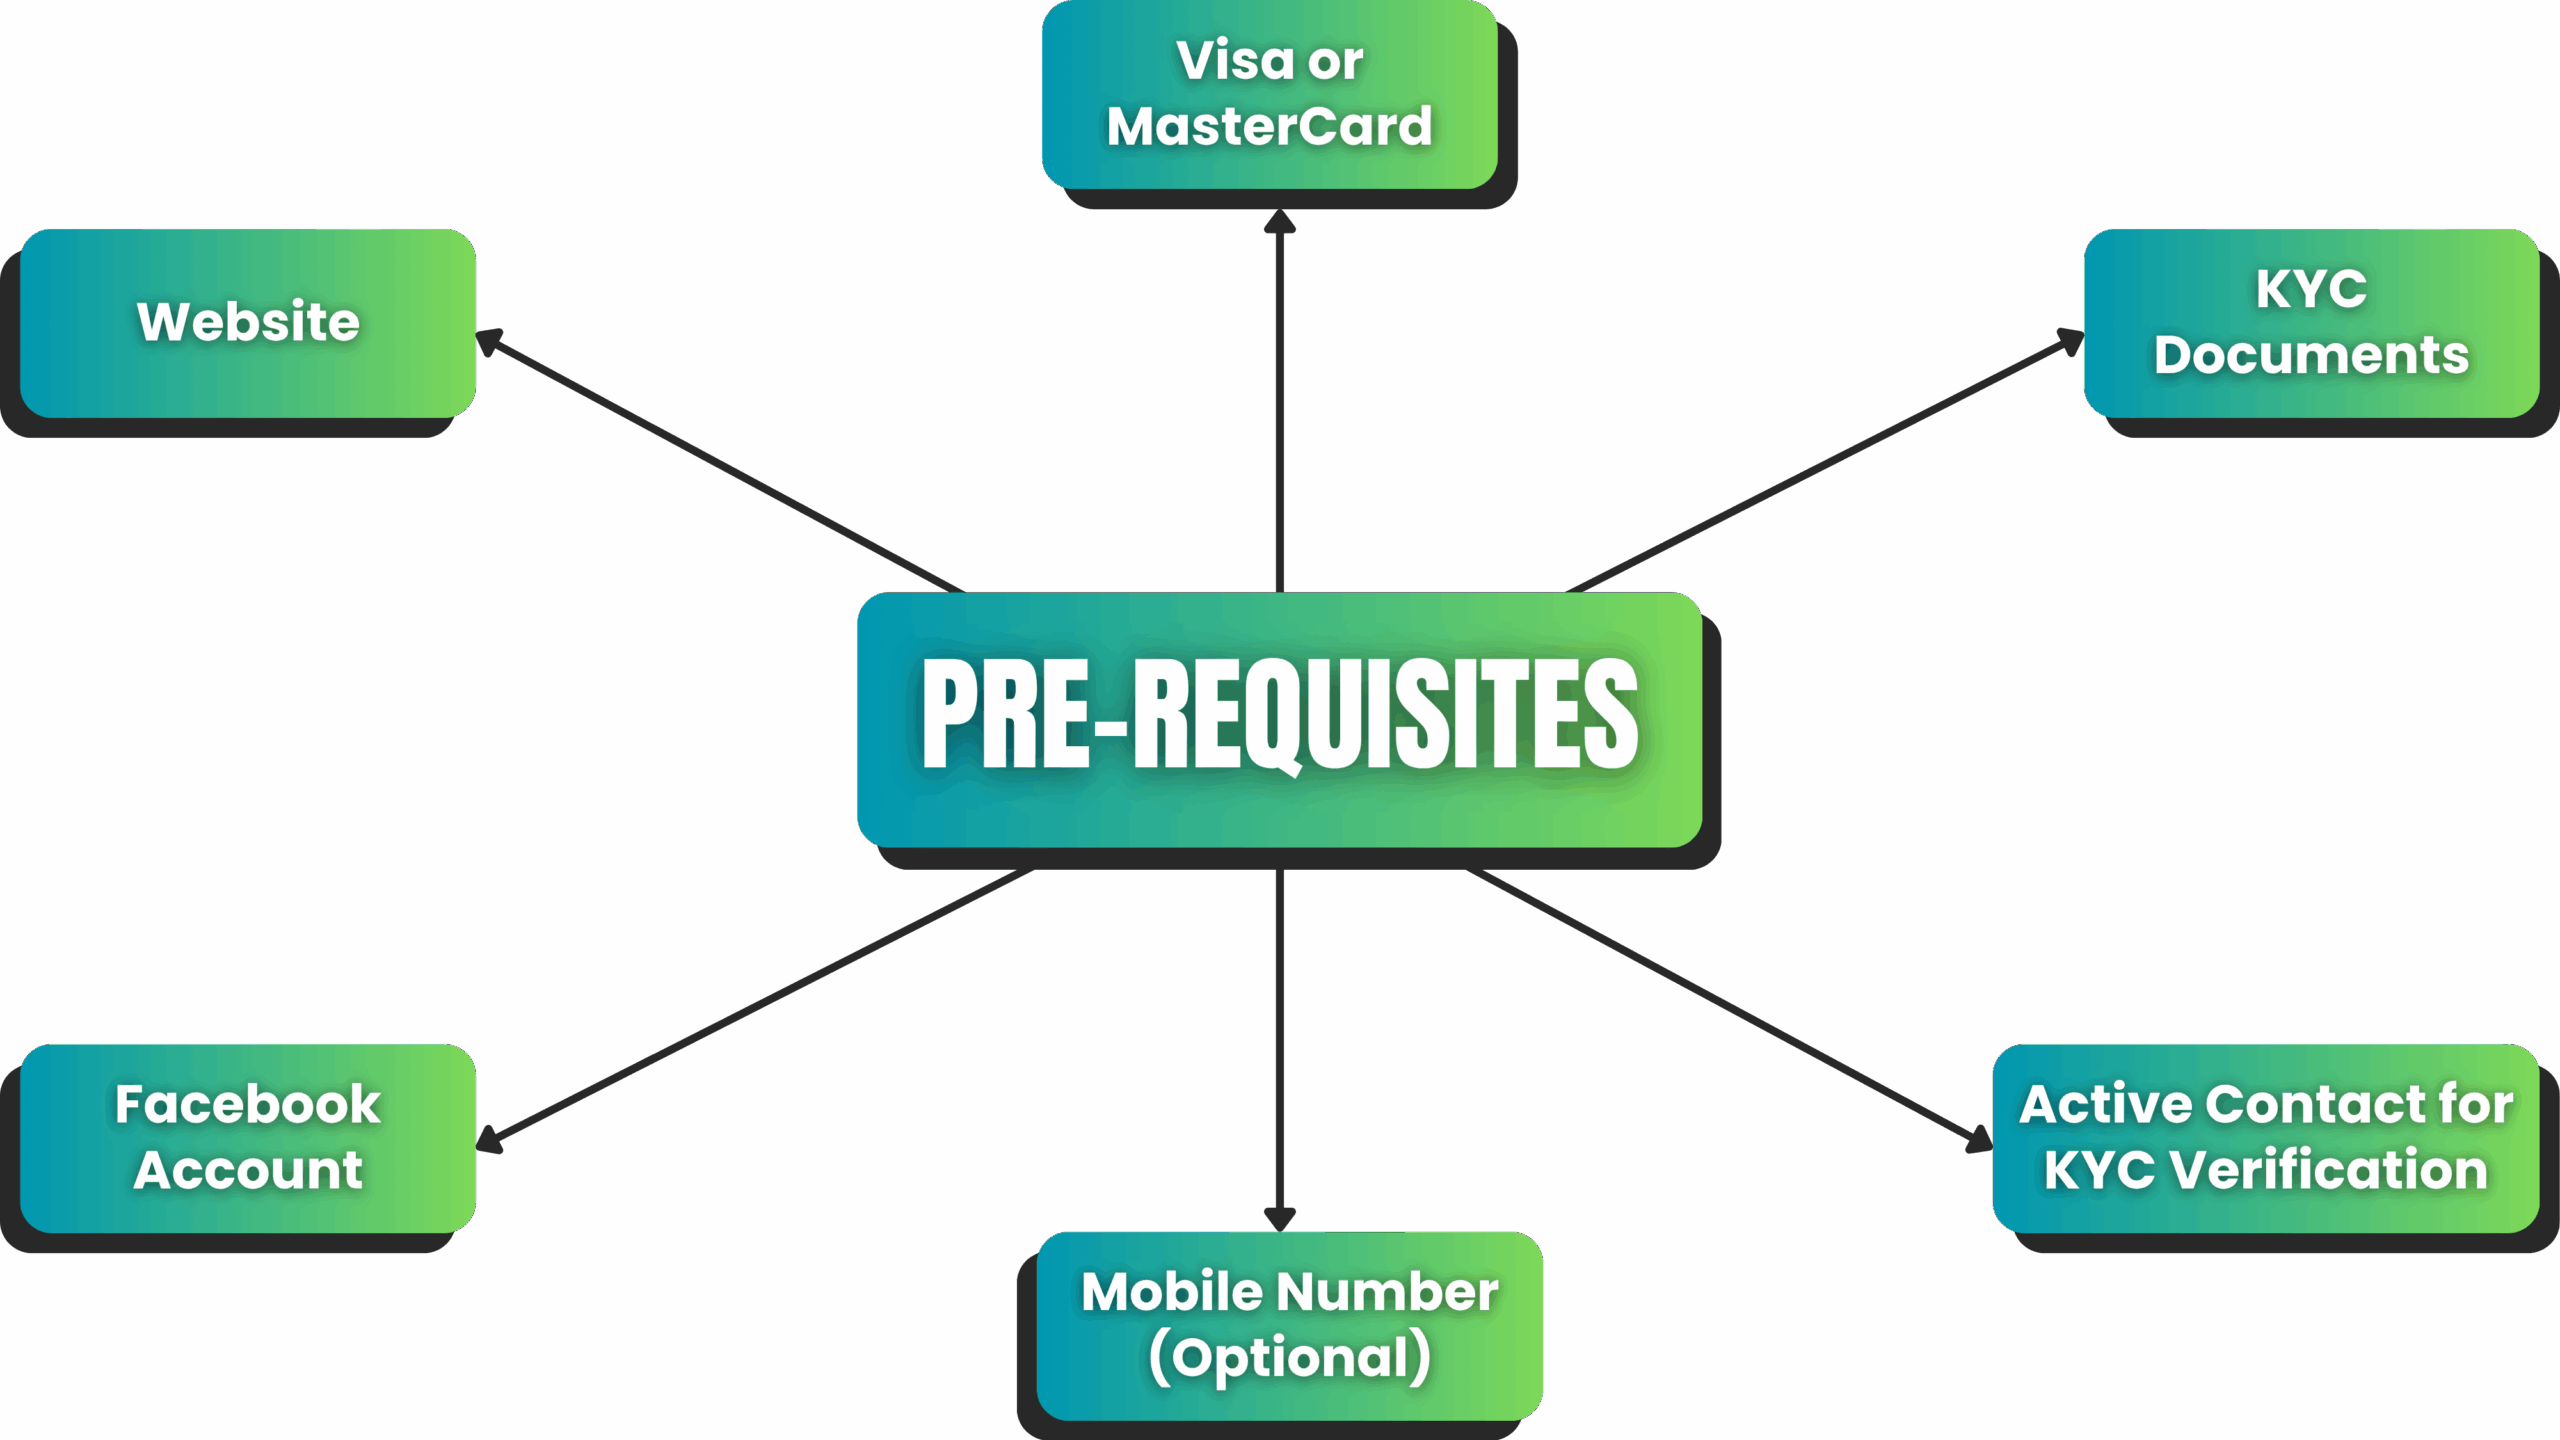 Before you start the WhatsApp Business API setup, make sure you have the following ready. Having these prepared will make the setup process smooth and faster:
1. Mobile Number:
You should have a mobile number for WhatsApp Business API. You can use a new number, your existing WhatsApp Business App number, or you can also choose Meta’s free virtual numbe
2. Facebook Account:
You should have a Facebook account through which we’ll create a Business Portfolio. If you don’t have a Facebook account, you can create a new one.
3. Website:
You should have a working website, even if it’s just a one-page website. The website should be secure, which means it should use HTTPS. If you don’t have a website, click on the link given in the description box and send us a message, and we’ll help you.
5. KYC Document:
To verify your Business Portfolio, your legal business name is required. That’s why you should have any one valid business document, such as an Udyam Certificate, GST, PAN Card, or Utility Bill.
6. Active Contact of the KYC:
Whichever KYC document you use, the mobile number or email ID linked to that document should be active because the OTP for verification will be sent there.
If you have all of these, then you can start with the setup process.
Step-by-Step WhatsApp Business API Setup

Step 1: Create an Account on LeminAi
First of all, you need to create an account on LeminAi, which is a Meta Tech Partner website.
- Search for app.leminai.com, and then click on Sign Up.
- Enter your First Name, Last Name, and Email Address, then click Next.
- Enter your WhatsApp number here. Use your personal mobile number, then click Send OTP. The number that you want to connect with the API will be used later.
- Enter the OTP you received on your WhatsApp number, click Verify OTP, and then click Next.
- Set your password, enter the same password again in the Confirm Password field, accept the Terms & Conditions, and click the Sign Up button.
Step 2: Create a Business Portfolio in Meta Business Suite
The first step in your WhatsApp Business API setup is creating a Business Portfolio. This portfolio stores all your business assets, including pages, ad accounts, and WhatsApp numbers. 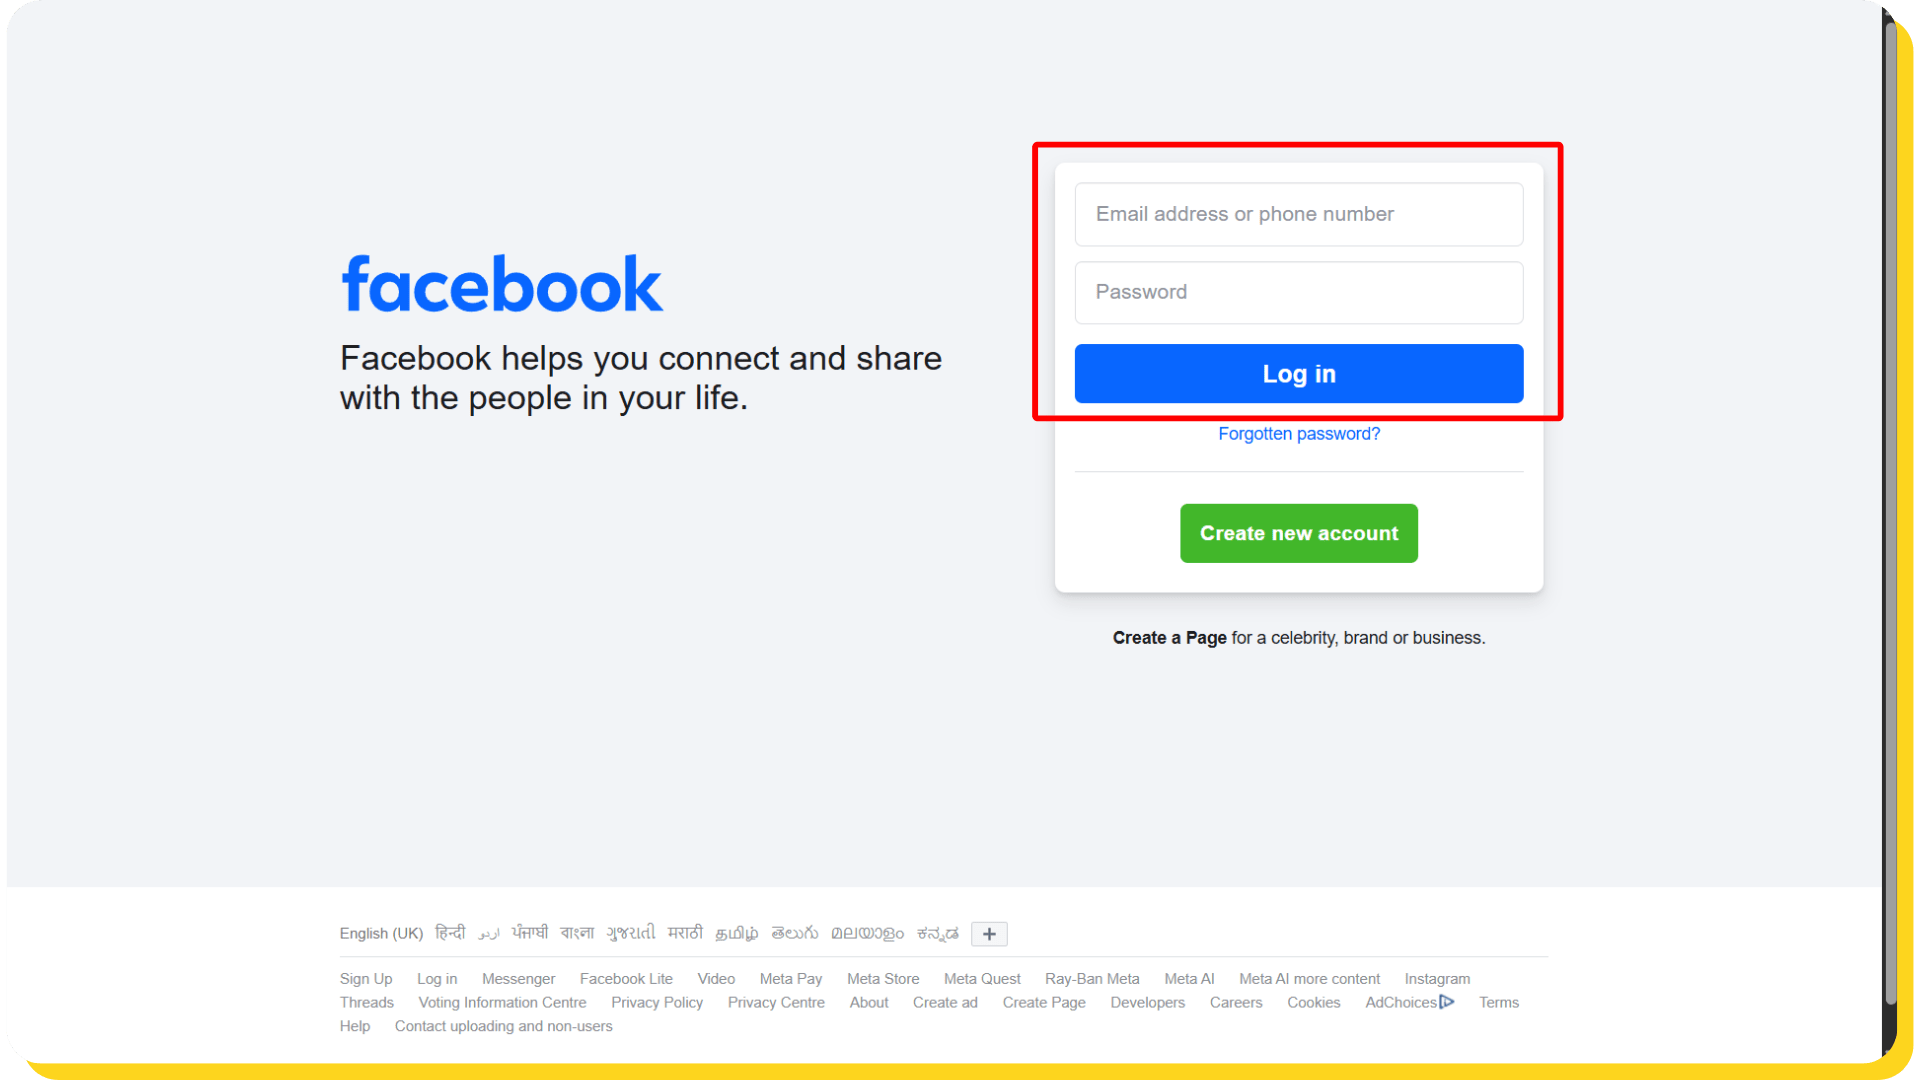
Follow these steps:
1. Log in to Facebook: Start by logging into the Facebook account you prepared earlier.
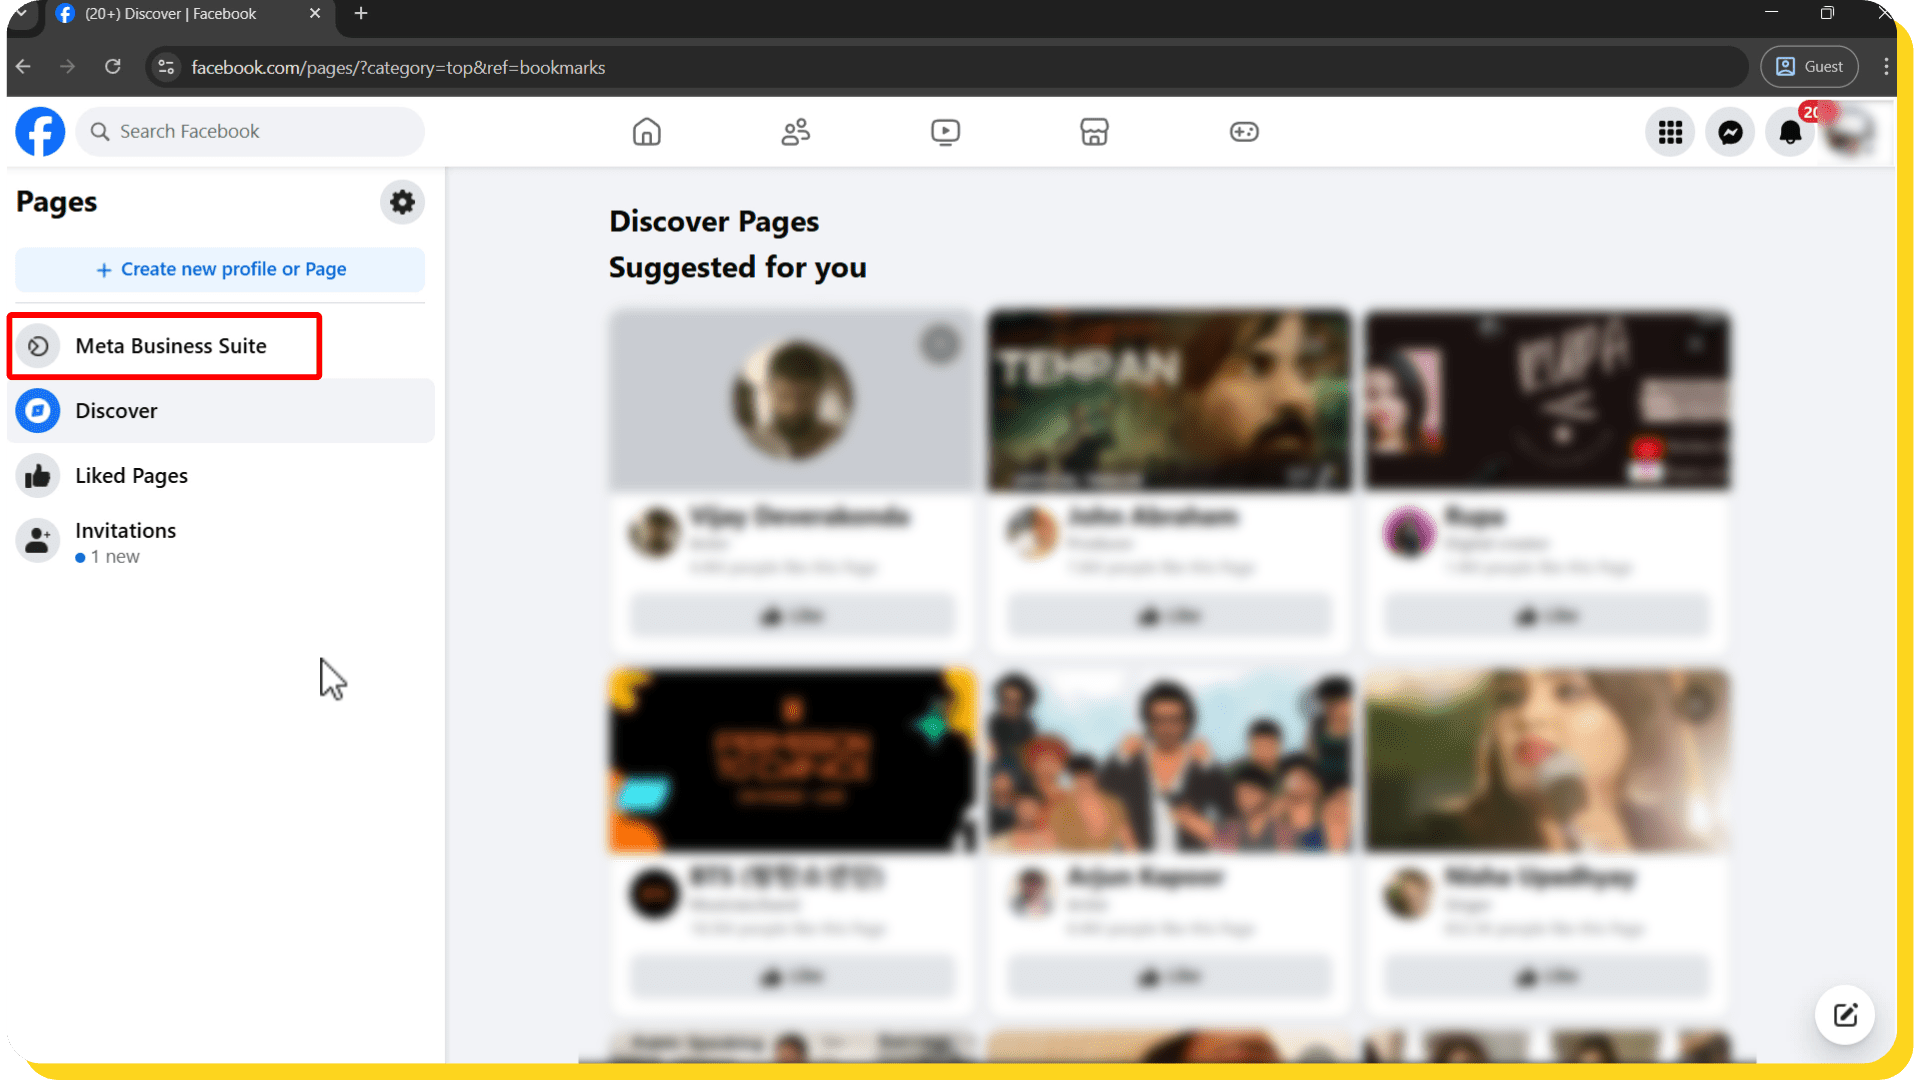
2. Access Meta Business Suite:
- On the left sidebar, click “See More”
- Scroll down and select “Meta Business Suite”
- If you don’t see the option directly, click Pages first and then select Meta Business Suite.
3. Create a Business Portfolio:
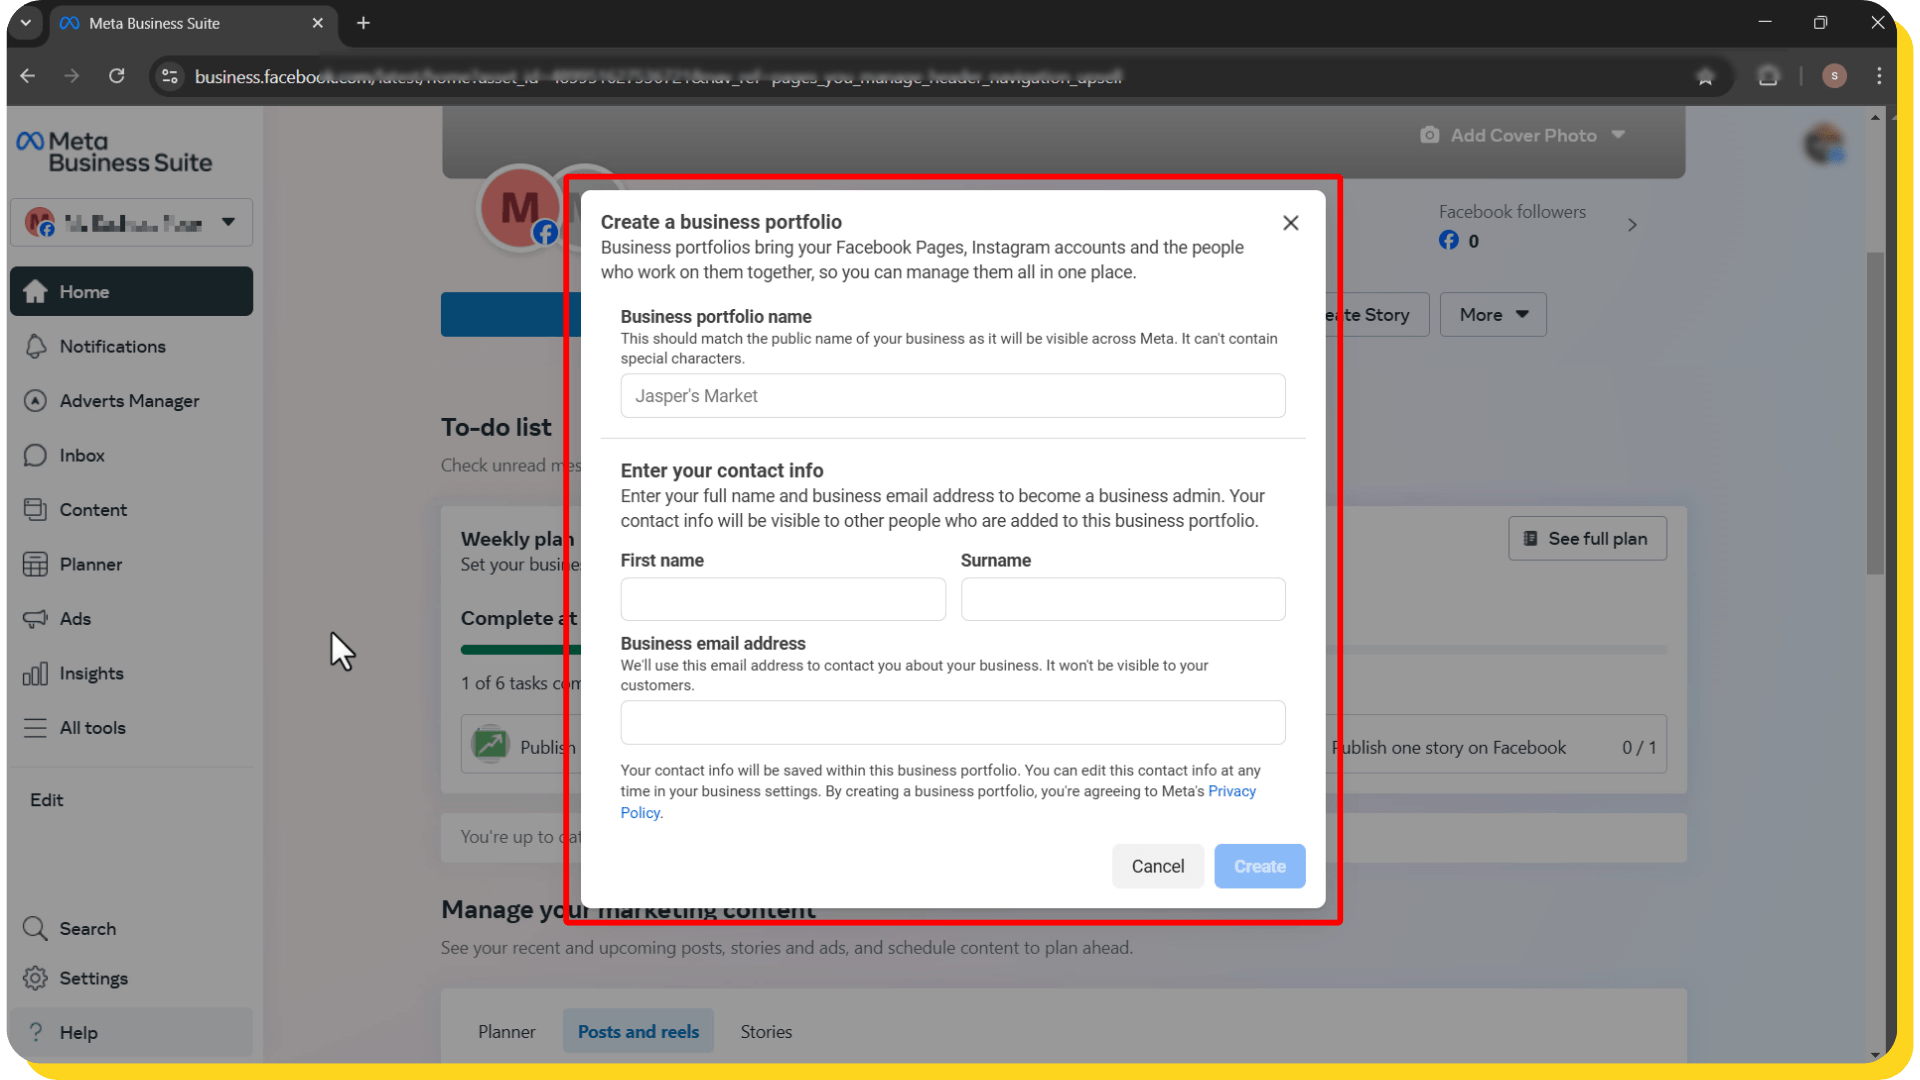
- Method A (if no page or portfolio is created from your ID)
- Click “Create a Business Portfolio”
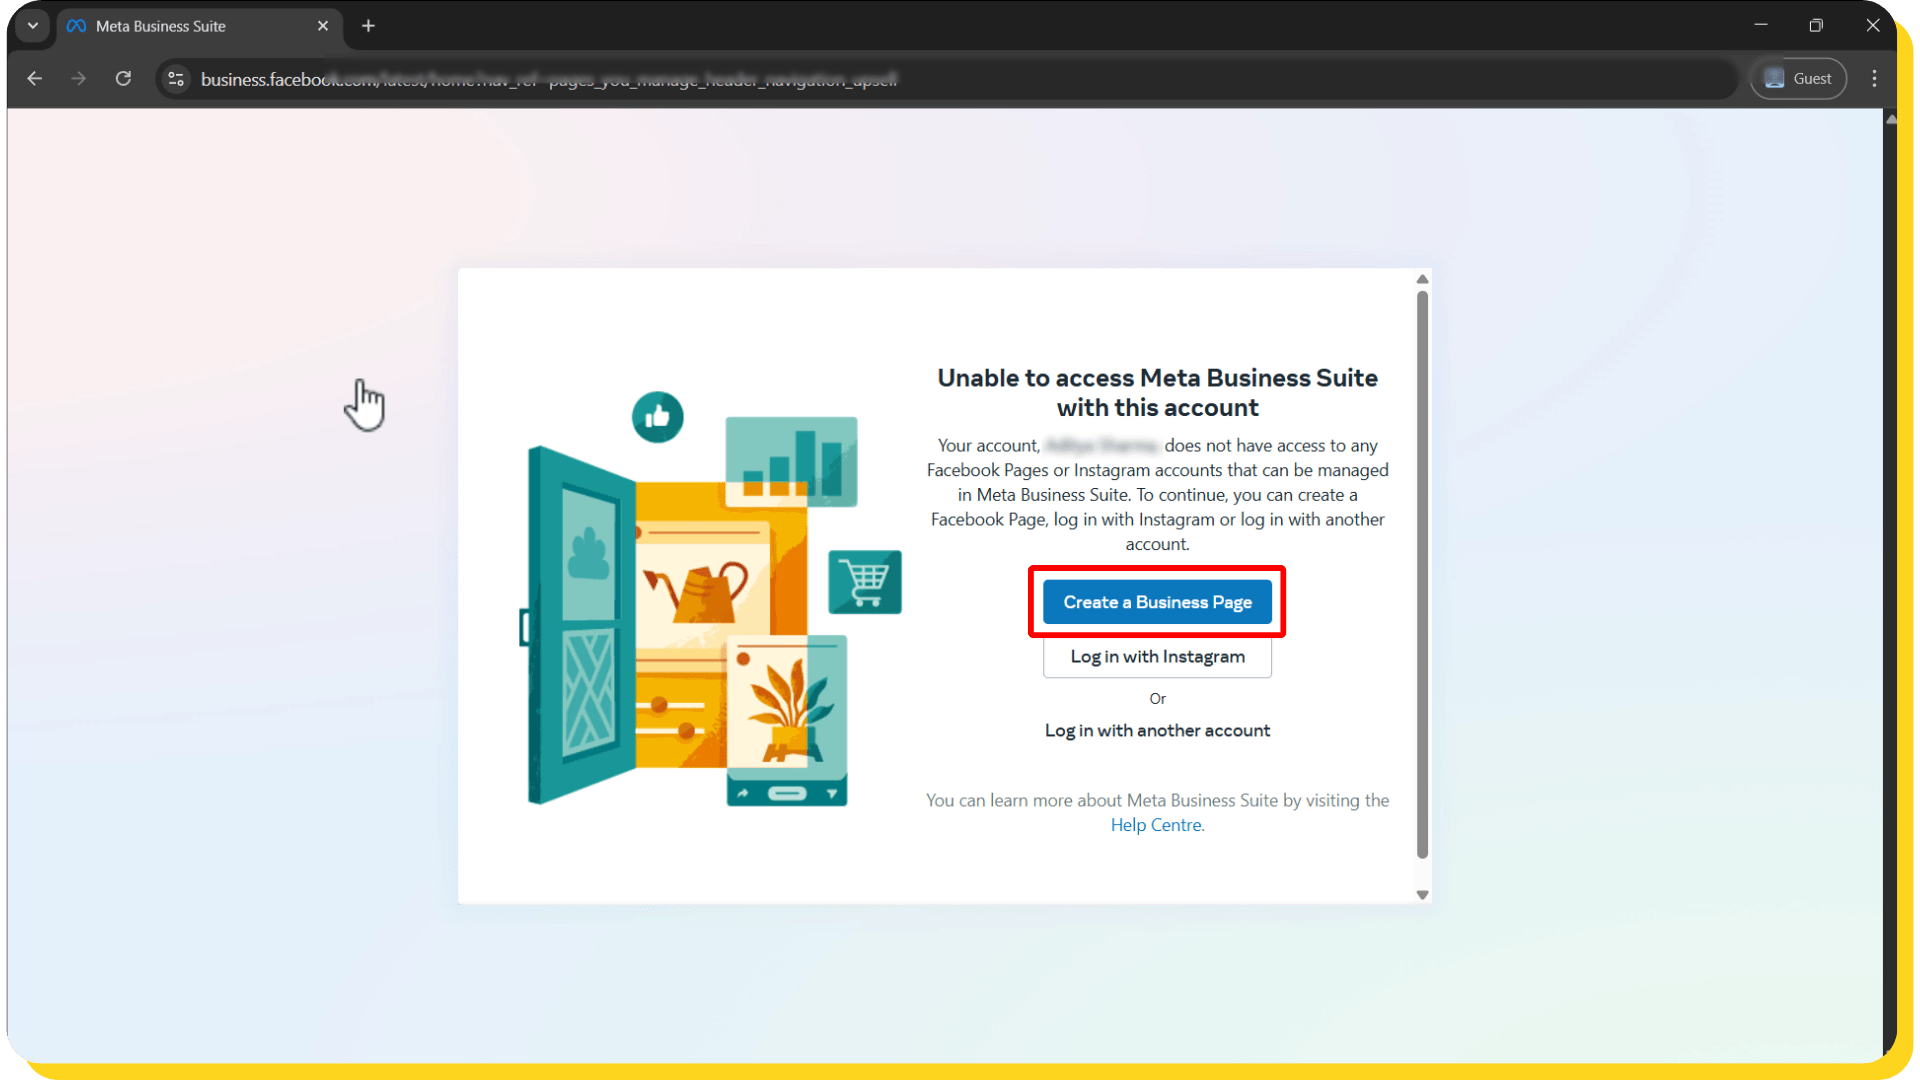
- Click “Create a Business Portfolio”
- Method B (if any page or portfolio is already created from your ID)
- In the top-left corner, click “Business Assets”
- From there, select “Create a Business Portfolio”
- After selecting your method, follow these steps:Fill in your first name, surname, and business email
- Click “Create”
- Enter your portfolio name (use your registered or publicly known business name)
4. Click “Next“, “Next” and then “Confirm”
Your Business Portfolio is now ready. This portfolio will later be used to connect your WhatsApp number during the API integration process.
Step 3: Fill Business Details in Portfolio
After creating your Business Portfolio, the next step in your WhatsApp Business API setup is adding accurate business information. This is important because Meta uses these details to verify your company. Follow these steps:
- Click on “Business Assets”, then select “Business Settings” next to your Business Portfolio.
- Next, click on “Business Info.”
- In the Business Details section, click “Edit” and fill in your registered business information exactly as it appears on your KYC documents.
- After entering the details, click “Save.”
- Scroll down and ensure that your email address is verified. If it is not, go to your email inbox and click “Confirm Now” to complete the verification.
Once your business details are added and your email is verified, you are ready to move on to creating an app on the Facebook Developers Platform for WhatsApp API setup.
Step 3: Setup WhatsApp API Number on LeminAi
The next step is to connect your WhatsApp API number to the LeminAi dashboard.
- Open app.leminai.com, click on the WhatsApp tab, and then click Setup.
- Now click the Connect WhatsApp button, and then click Continue.
- If you have multiple Business Portfolios, select the one that you created for WhatsApp Business API.
- Now you’ll see two options to connect your number:
- ‘Create a WhatsApp Business Account’ – Select this option if you want to connect your number directly to WhatsApp Business API. You’ll also choose this option if you want to use Meta’s free virtual number.
- ‘Connect a WhatsApp Business App’ – Select this option if you want to continue using the WhatsApp Business App on your mobile phone while also connecting it to the API dashboard. In this case, the number you’re using for WhatsApp Business API must already be registered on the WhatsApp Business App.
Let’s understand both options one by one.
Connecting Number with Coexistence method:
- If your number is already registered on the WhatsApp Business App, we’ll connect it using the Coexistence method. For that, select the Connect a WhatsApp Business App option and click Next.
- Select your country code and click Next.
- Click Next again.
- You’ll receive a message from Facebook Business on your WhatsApp. Open the message and click the Connect button.
- Then keep clicking Next, and scan the QR code displayed on the screen.
- After the scan is complete, you’ll see the option to select your time zone. Select your time zone and click Next.
- Then click Confirm.
- Finally, click Finish.
And that’s it, it’s done!
Now let’s look at the second option, if you want to use the number only on the API Dashboard.
- If you want to connect your number directly to WhatsApp Business API, select the Create a WhatsApp Business Account option and click Next.
- Select your Business Category and click Next.
- Now click Add a New Number.
- Select your country code and enter the number on which you want to activate WhatsApp Business API. Make sure that the number you enter here does not already have a WhatsApp account.
- After that, set your WhatsApp Display Name.
- Select the mobile number verification method and click Next.
- You’ll receive an OTP. Enter it here and click Next.
- Click Confirm, and finally click Finish.
And that’s it. Your number has now been connected to WhatsApp Business API.
Now let’s talk about how to use Meta’s free virtual number for your WhatsApp Business API setup.
Meta also provides a virtual number that supports chat only, not voice calls.
- To use Meta’s virtual number, you’ll again select the Create a WhatsApp Business Account option.
- Select this option and click Next.
- Select your Business Category, and then click Next again.
- Now click Use a Display Name Only and enter your WhatsApp Display Name. Make sure it matches your business documents; otherwise, verification may become difficult.
- After that, click Next.
- Now click Confirm.
- Then click Finish.
It’s done. Meta has assigned you a virtual number, which is now visible here, and it has also been connected to your LeminAi dashboard.
Step 4: Complete Business Verification Process
The next step is to complete the business verification process in Meta Business Suite. This step is essential because it ensures your company is legitimate, which is crucial for your WhatsApp Business API setup.
Here’s how you can do it:
- Go back to Meta Business Suite and click “View Details” next to Business Verification Status.
- Click “Start Verification,” and then select “Get Started.”
- Choose your Country and click “Next.”
- Select your Business Type, then click “Next” again.
- If your business is registered, click “Registered.” If it’s not, choose “Not yet Registered.”
- Enter the required Business Details and click “Next.”
- Keep clicking “Next” until you reach the verification stage.
Now, depending on the records, two scenarios may appear:
Case 1: Meta finds matching records
- Select your business from the list provided.
- Choose a verification method (e.g., email or phone).
- If you pick email, re-enter your registered email ID and click Send Email.
- Enter the confirmation code sent to your email, then click Next.
 Case 2: Meta does not find any matching records
- Enter your business details manually and click Next.
- Click Next again until you reach the verification step.
- Choose a verification method.
- Upload valid documents that show your business name, address, and phone number.
- Enter the confirmation code received, and then click Next.
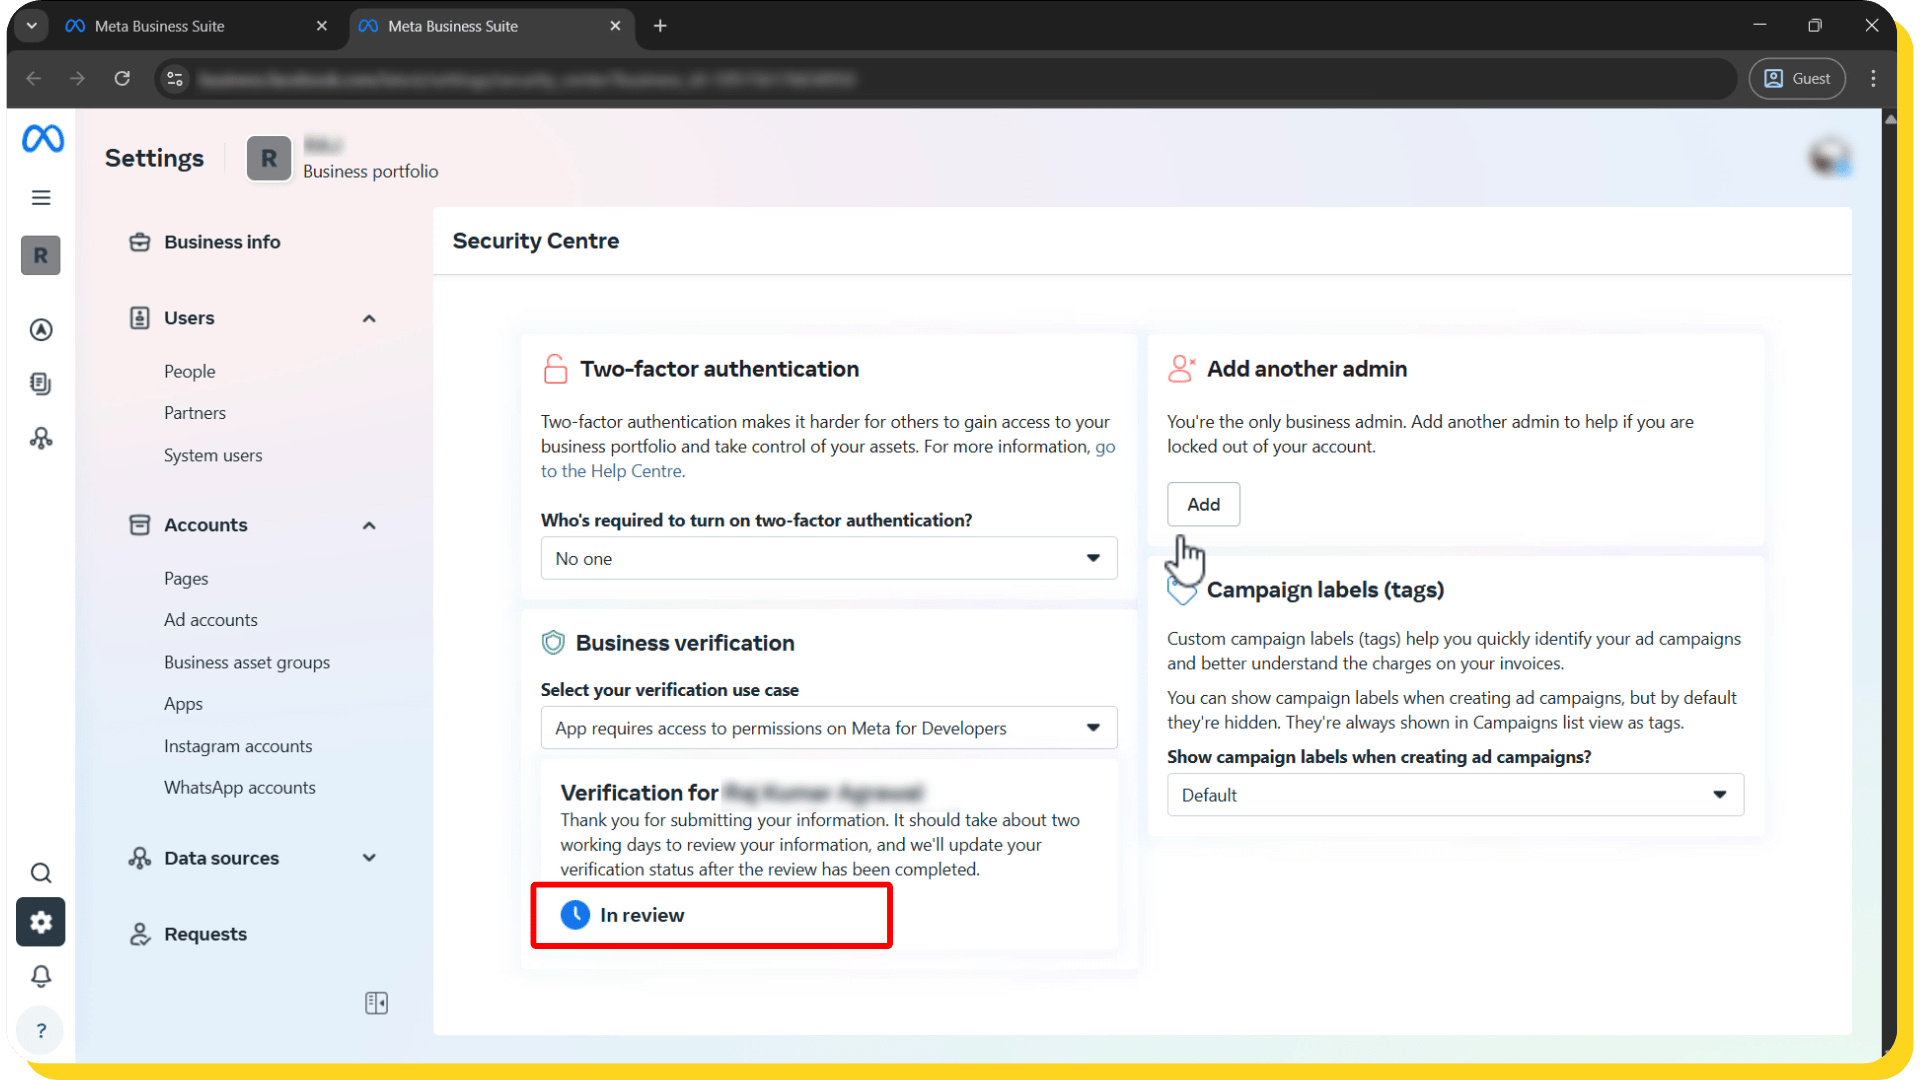
Providing accurate documents and details will reduce delays and ensure a smooth verification process. Once everything is done, your verification status will change to “In Review.” Usually, Meta reviews the request within 1-2 hours, though it may take up to 24 hours in some cases.
Common Issues & Troubleshooting Tips
Even with a smooth WhatsApp Business API setup, some issues may occur during verification, integration, or messaging. Here are common problems and solutions:
1. Verification Delays
Meta takes longer than expected to verify your business.
Solution:
- Double-check that your KYC documents match the business details exactly
- Ensure your email and phone number for verification are active
- Avoid submitting multiple requests simultaneously
Most verifications usually complete within 1–2 hours. However, Meta can take up to 24 hours in some cases, so it’s best to be patient.
2. WhatsApp Number Connection Issues
Your WhatsApp number does not connect to LeminAi or the API dashboard.
Solution:
- For existing numbers, ensure WhatsApp Business App is active on the same number
- For new numbers, check the OTP and QR code scan process
- If using a virtual number, remember it only supports chat, not calls
4. Integration Problems
Messages do not appear on the dashboard after setup.
Solution:
- Refresh your LeminAi dashboard after completing setup
- Confirm your number is verified by Meta
- Contact LeminAi support at +91 9682828181 for help
Keeping documentation and screenshots handy can help solve issues quickly and ensures your setup remains smooth.
Conclusion
Setting up the WhatsApp Business API can transform how your business communicates with customers. Therefore, a proper setup ensures smooth messaging, faster responses, and a professional brand image.
By following this guide, you have learned how to:
- Prepare all pre-requisites for verification
- Create a Business Portfolio and an app on Facebook Developers
- Complete the business verification process
- Connect your WhatsApp number and complete WhatsApp API integration on LeminAi
- Add a payment method for seamless billing
Now it’s time to implement this setup and start communicating like top brands. Furthermore, LeminAi makes managing your WhatsApp API simple and efficient, allowing you to automate messages, run campaigns, and engage customers effortlessly.
Get Started Today: Visit LeminAi and enjoy a 15-day free trial for WhatsApp Business API.
Frequently Asked Questions (FAQ)
1. Can I set up WhatsApp Business API without a phone number?
Yes, you can. Meta provides a virtual number during the setup process, which supports chat-only. This is useful if you don’t want calls on your WhatsApp API number. However, if you want calls enabled, a physical number is required.
2. Is a website required for setup?
Yes, Meta requires a valid website for verification purposes. Even a single-page HTTPS-secured website is enough to complete the verification process.
3. Is KYC document mandatory?
Yes, KYC documents such as GST Number, PAN Card, or MSME Certificate are required to verify your business name. The details must match your business registration exactly.
4. Can I use my existing WhatsApp number for the API?
Yes, you can use an existing WhatsApp Business account number. This allows you to continue using WhatsApp on your phone while connecting the number to the API dashboard for automation and management.
5. Can I use WhatsApp both on my phone and on the dashboard?
Yes, if you choose to connect your existing WhatsApp Business account, you can manage messages on your phone. At the same time, you can also handle them on a professional dashboard like LeminAi simultaneously.
6. Can I start with a new WhatsApp number?
Yes, you can register a new number specifically for WhatsApp API use. You’ll select a verification method (SMS or call) to confirm ownership, and Meta will connect it to your API dashboard.
7. What if I face issues during integration?
If messages don’t appear or your number doesn’t connect, refresh your dashboard, check your verification status, and contact LeminAi support at +91 9682828181. Keeping documentation and screenshots handy can speed up support.